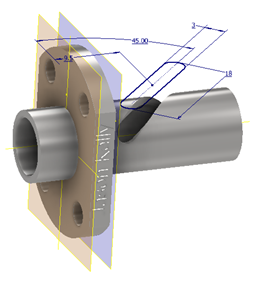
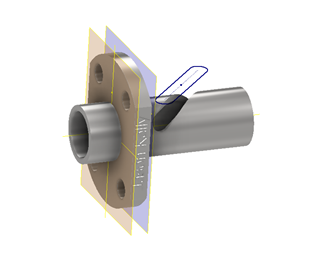
When working in the part environment with complex components, the screen can start to become quite busy and difficult to work with. This can be due to the high numbers of sketches, work features, and bodies visible in the model. The standard method of working would be to locate each individual feature, right click and uncheck the visibility option. This can be quite a lengthy process if wanting to quickly change the visibility status of multiple features, and this is where the Excitech toolkit for Inventor comes in.
Within the toolkit we have added a ‘Visibilities’ panel in the part environment, and I am going to explain how they work and how you can benefit from using them.

Sketch and Dimensions

The first two visibility tools are working with 2D and 3D sketches. When creating parts your sketch count will be high, occasionally adopting the shared sketch feature which will make sketches appear visible when used. To turn the visibility of all sketches off, select on the sketch tool with the black lightbulb. This will be the same for the majority of features with the black lightbulb once you select on the tool it will toggle the visibility of all of the selected feature to be off.
 If you are looking to reuse a sketch you may need to quickly flick the visibility of that sketch on. Select on the sketch symbol with the yellow lightbulb (below).
 This will turn on the visibility of all sketches in the model, you will then need to select a sketch component, for example a line, and the whole of this sketches visibility will turn off. The cursor will then appear as ‘1 selected’. You can select as many sketches as you wish to turn on and then once you are happy with your selections select the ‘ESC’ key on the keyboard.


After selecting ESC the sketches that you have selected on will then appear visible. Once you have turned the sketch visibility on, any dimensions that you have used in that sketch also will be showing. As a normal function you can toggle the visibility of this on and off on the right click menu by using the ‘dimension visibility’ switch. You can use the shortcut in the Excitech toolkit and toggle the visibility of this on and off by using the dimension visibility tools, which will toggle the visibility for all of the sketches, again saving multiple clicks. This toggle will turn all dimensions off rather than choosing on selected ones.


Work Features

Regular users of inventor will use work features including planes, axis, and points in order to creature and subtract 3D geometry. These features, especially planes, can start to bulk out the feature browser dramatically when created, they also can be consumed by other features so at times can be difficult to locate in the browser to toggle the visibility. The tools work very similarly to how the sketch toggle switch works. Let’s use planes as the example, if you select on the yellow light bulb it will turn on the visibility of all planes. Next, select on the planes you wish to be active, which in turn will turn the visibility temporarily off until confirmed. Once you have made your selections press ‘ESC’ and it will complete the command. Note, with this it will also give you the ability to turn on the visibility of origin geometry. Again, selecting on the black lightbulb for any of these features will reset and turn off the visibility off all of that specified feature.
Surfaces and Bodies

The final visibility functions are for bodies and surfaces and again they adopt the same working method. If you use top down modeling and therefore work with multi body solids, you will find this very useful. Again, turning the visibility off function for surfaces works in the same way to work features and sketches. You have to select the components that you wish to turn on and then hit the ESC key. The difference being when turning off bodies visibility. This is the only turn off visibility function which adopts the selection process rather than turning all of that feature off.
You first select on the bodies command with the black lightbulb and then choose the bodies you wish to turn the visibility off. Again, once you have the appropriate bodies selected select ‘ESC’ key to accept the command.
Turning bodies and surface visibility on uses this same process.
Toggle Edges
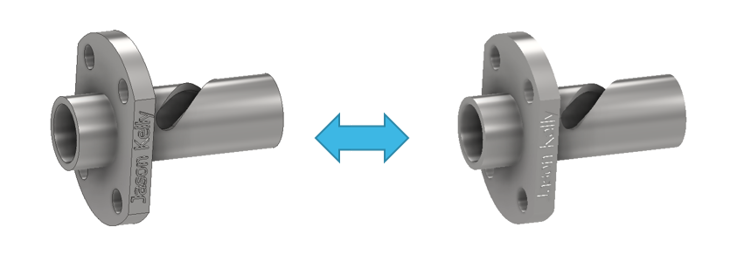
The final command in the visibilities panel is to toggle the view settings in the model. By selecting on the button, it will change the view orientation to show either ‘with edges’ or ‘without edges’. The differences can be seen below.


 This will turn on the visibility of all sketches in the model, you will then need to select a sketch component, for example a line, and the whole of this sketches visibility will turn off. The cursor will then appear as ‘1 selected’. You can select as many sketches as you wish to turn on and then once you are happy with your selections select the ‘ESC’ key on the keyboard.


